The Dream vs. Reality.
THE DREAM. The dream was getting handed the keys to my new PARKIT venture mobile, doing a build-out, and hitting the road to have the adventures of a lifetime. Buy a van already converted, NO WAY!- I can handle it, it can’t be thatttt difficult, I want it to be made the way I envision it.. (I’m a very capable woman with the handiest dad in the world. I got this, right?) For years now, I could tell you what my van was going to look like, what it would include, where it would go, and how it would all feel. Instagram has done a great job of helping me paint this picture.
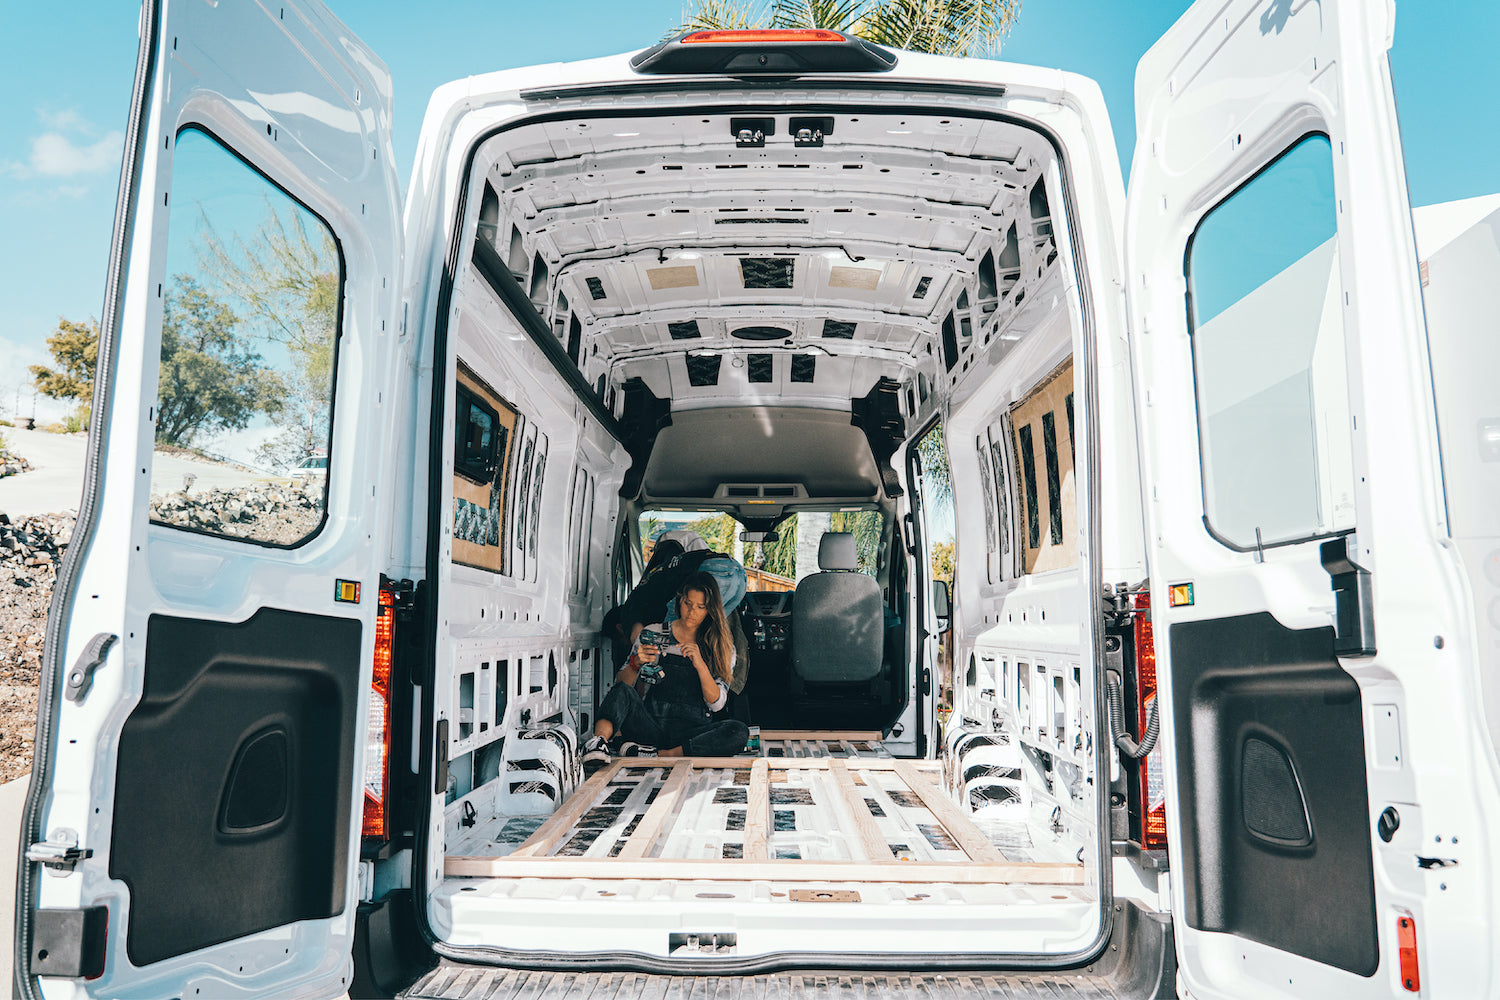
THE REALITY. The reality is that you drive away with the keys to your new baby, and you look back at an empty cargo van. At this point, you still have the confidence and naïve thoughts about your build-out. It is funny how quickly your thoughts change. Here are just a few questions that I highly recommend asking yourself before beginning your van build out reality:
-How many days do you want to go off-grid for? Are you prepared to pay for the increase in cost in water tanks and electrical to make that actually happen?
-Do you want a shower? Can your larger grey and freshwater tanks still fit? Can your shower actually fit? How do you plan to heat the water? Invest in an electrical upgrade again!
-Is working remotely from the road important to you? How will you create a space in the van to accommodate this?
-Do you want to sleep 4? Have fun figuring out that layout. Don’t forget about seat belting your other 2 passengers in!
-The propane stove isn’t the safest due to combustion… can my electrical system handle another load from the stove?
-Oh, you have a surfboard that is 6’8” that you want to travel with, where is that compartment going? Mold in a van is a nightmare… where will the snow boots and wetsuits be stored?
-Where is your toilet going to be? Do you have room for it? (Preferably not under where your food is stored)
-Traditional or top load fridge? This is a debate on choosing between beauty or efficiency?
-What goes in first? Electrical? Insulation? Floors? The framework?
-Sound "deadener," what on earth is that?
-How do you avoid rust when drilling and cutting into metal?
-Oh, you want multiple 12v plugs, upgrade that inverter!
-Tools… what tools am I going to need for all this? I wish I was being dramatic when I tell you what our lineup of saws looks like this: Circular saw, table saw, miter saw, jigsaw, hack saw, bow saw, oscillating saw, reciprocating saw, and rotary saw. MIND BLOWN. Upon the realization that my father owns all of these saws, Steven starts responding to request with an abnormally high amount of “yes sirs."
With all that being said, I don’t regret taking on this project one bit. It has been an incredible journey, it has been challenging and therefore rewarding, and above all, it has given me precious quality time with my dad. Long story short, don’t underestimate the amount of thought, science, and detail that goes into the creation of the beautifully done vans we all admire on Instagram.

Thus far, I am proud to report that the following has been built into Nomad. Everything listed below is in the order of which it was installed:
- Cutouts: By far the scariest part! I started by installing anything that required us to make cutouts into the exterior shell of the van. My boyfriend (and the founder of PARKIT) is 6’2”. That meant that we'd need to get creative about how we'd sleep. The width of the van is just a bit too short for Steven. Flarespace was the answer! We started with this cutout and install since it was the largest. Start with the scariest and then the rest gets easier right?!
- Next up, Windows. I loved the windows from Motion Windows due to how they opened and closed, and the fact that they came with a stronger glass than the CRL Windows many van builders choose. I have 3 windows all together- natural light and being able to take in the incredible views from my kitchen was really important to me.
- Lastly, we installed the fan. I recommend not cheaping out like me, and buy the one with the remote control. It is important to install the fan above your cooking area. Many van lifers even install 2 if they have fewer windows.
- Sound Deadener: Installed all over the entire interior of the van; heavily over wheels highly recommend Dynamat.
- Flooring: Framed the floor with 2x4s, insulated between the wood using R-Tech Foam Insulation. I then filled in any gaps with a foam insulation spray. Next, we added plywood over the top of this to create a flat, easy to work with surface. Now that you have a surface that eliminated bowing, the flooring is ready to be installed. I chose Lifeproof Vinyl flooring because it is waterproof, scratch-resistant, and has a high durability rating. This was imperative with the amount surf and snowboarding we plan to do with the van. Plus, it is gorgeous and looks natural. Not to mention, aside from cutting the vinyl to make it fit perfectly into the van floor, the installation was very easy.
Next Step is going to be Electrical - by far the most overwhelming and challenging part in my opinion. Wish me luck!
Thanks again for following along as I build out Nomad, the PARKIT adventure-mobile. THE DREAM IS SLOWLY BECOMING REALITY.
#EnjoyTheExploration
- Lo Ritchie


